Hello,
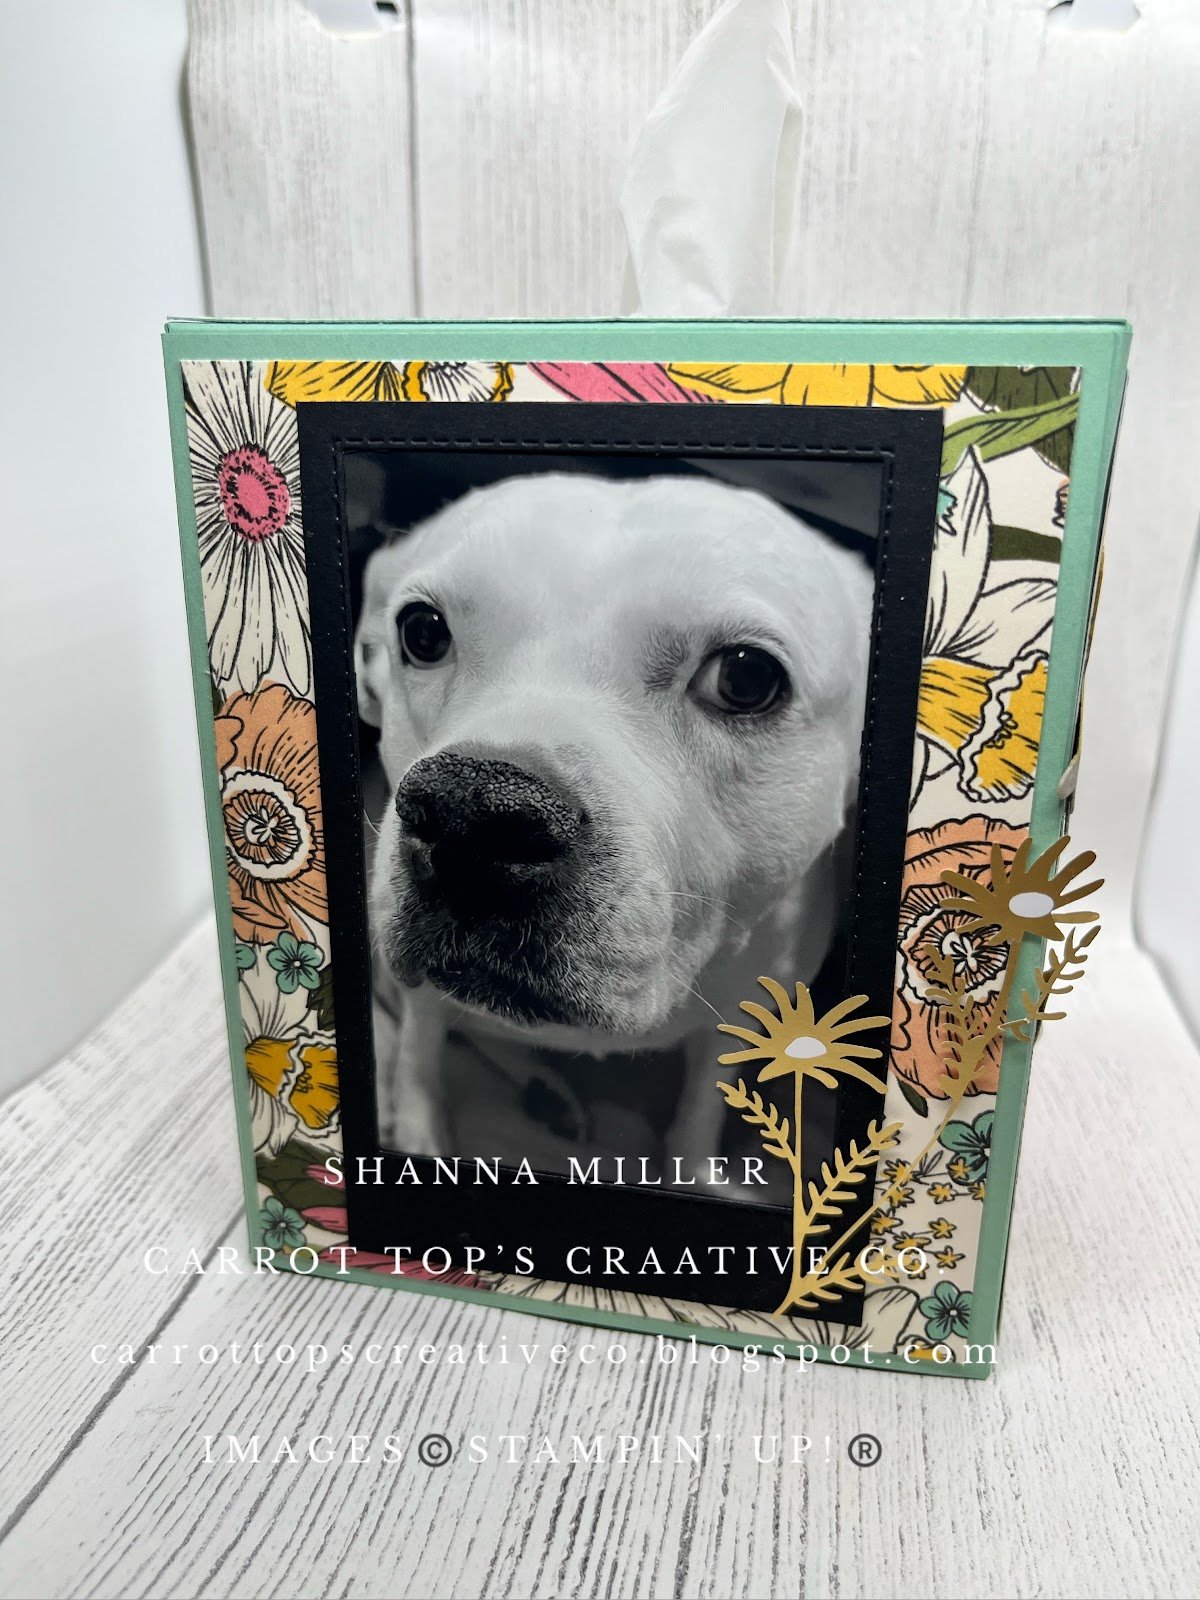
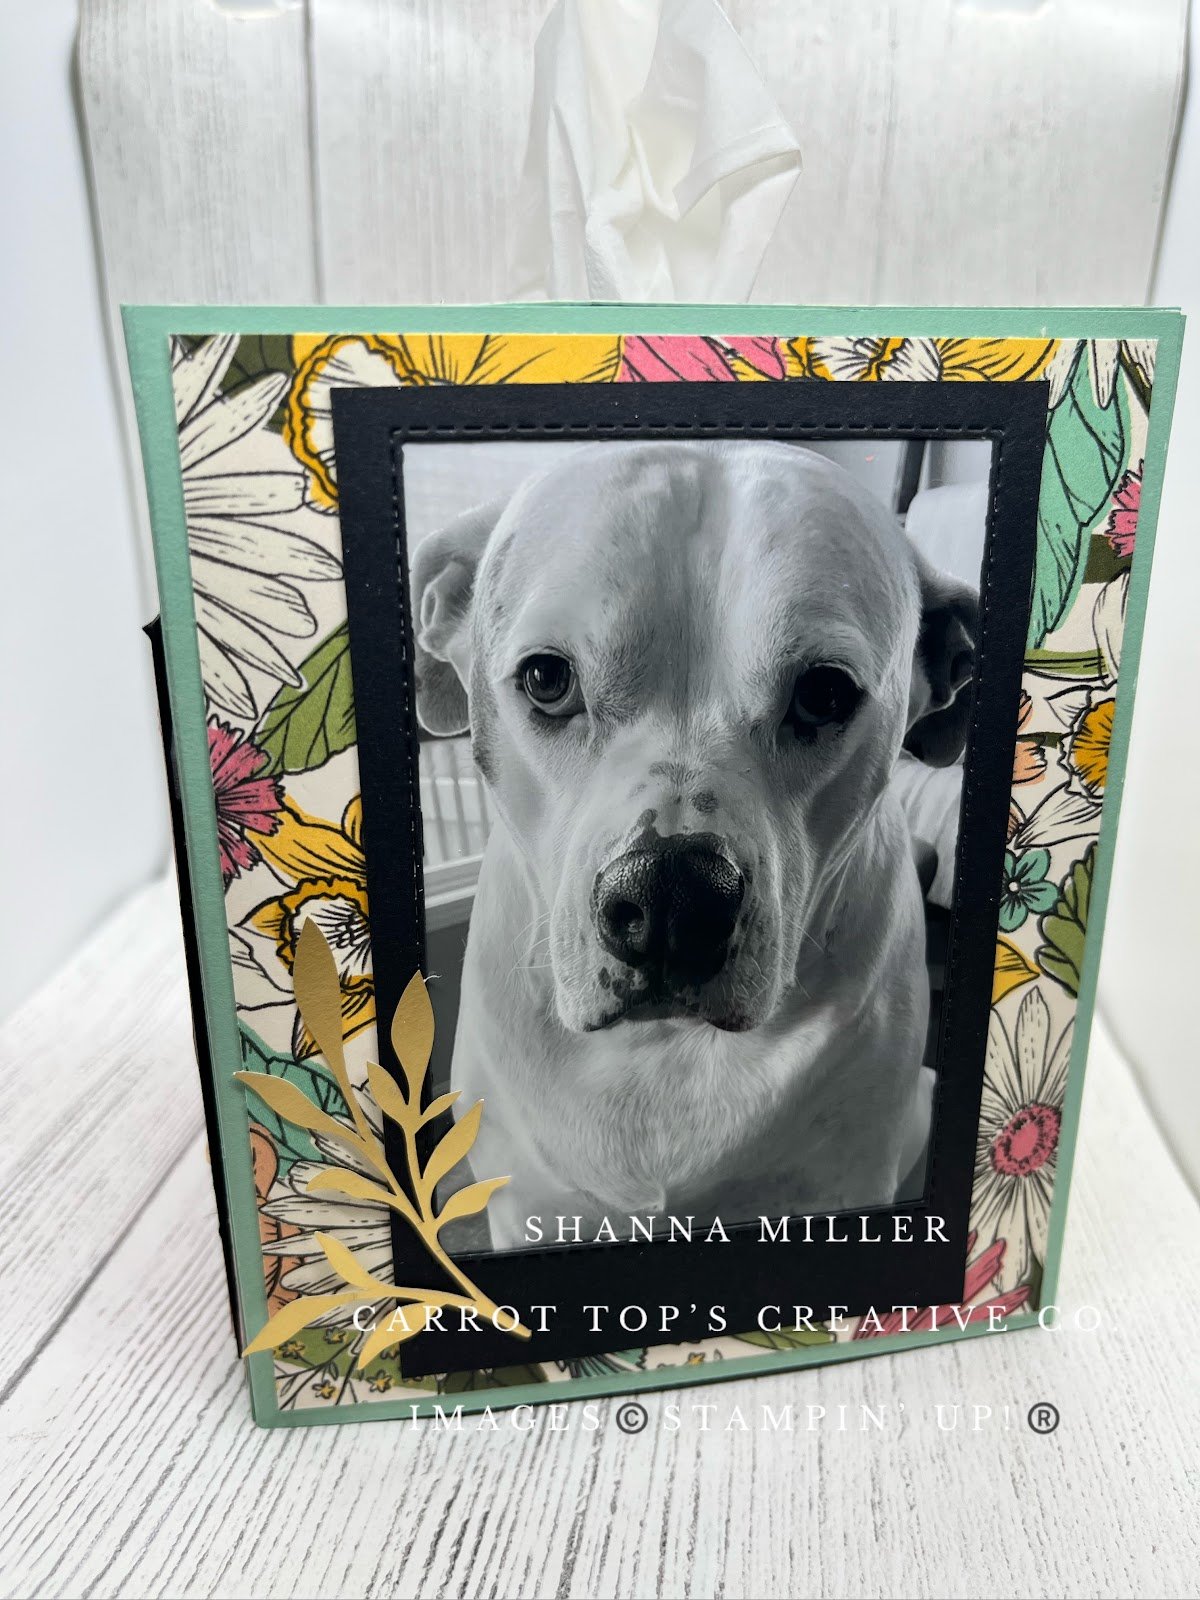
I said I would share to how to make your own Tissue Box Cover on my Facebook this week so here is the tutorial on how 🙂 This Wonderful idea came from a team event I participated in recently , and the talented Diane Inkster – “The Creative Inkster” (thecreativeinkster.blogspot.com) shared this as her project, and I love how it jazzes up my desk, and features my fur kids. You could certainly add a mini calandar to the front, I choose a qoute as I already have a mini desk calandar which I have shared in a previous post 🙂
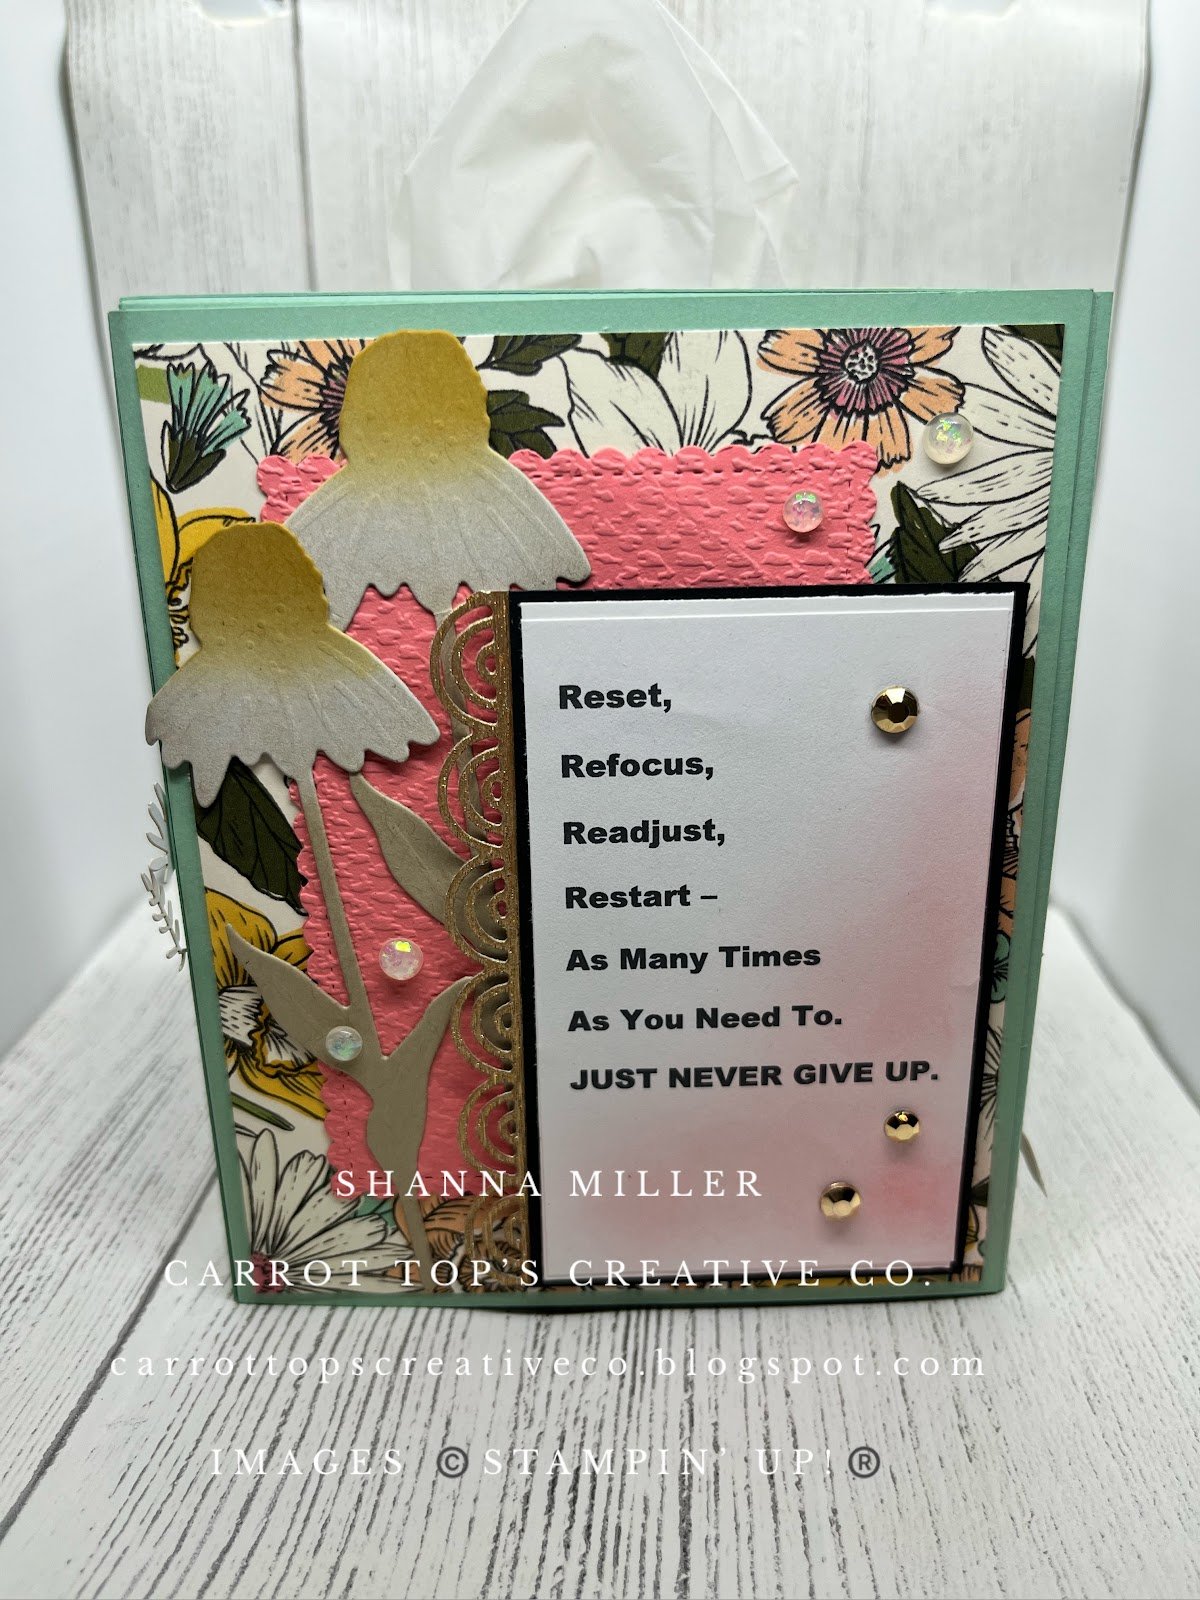
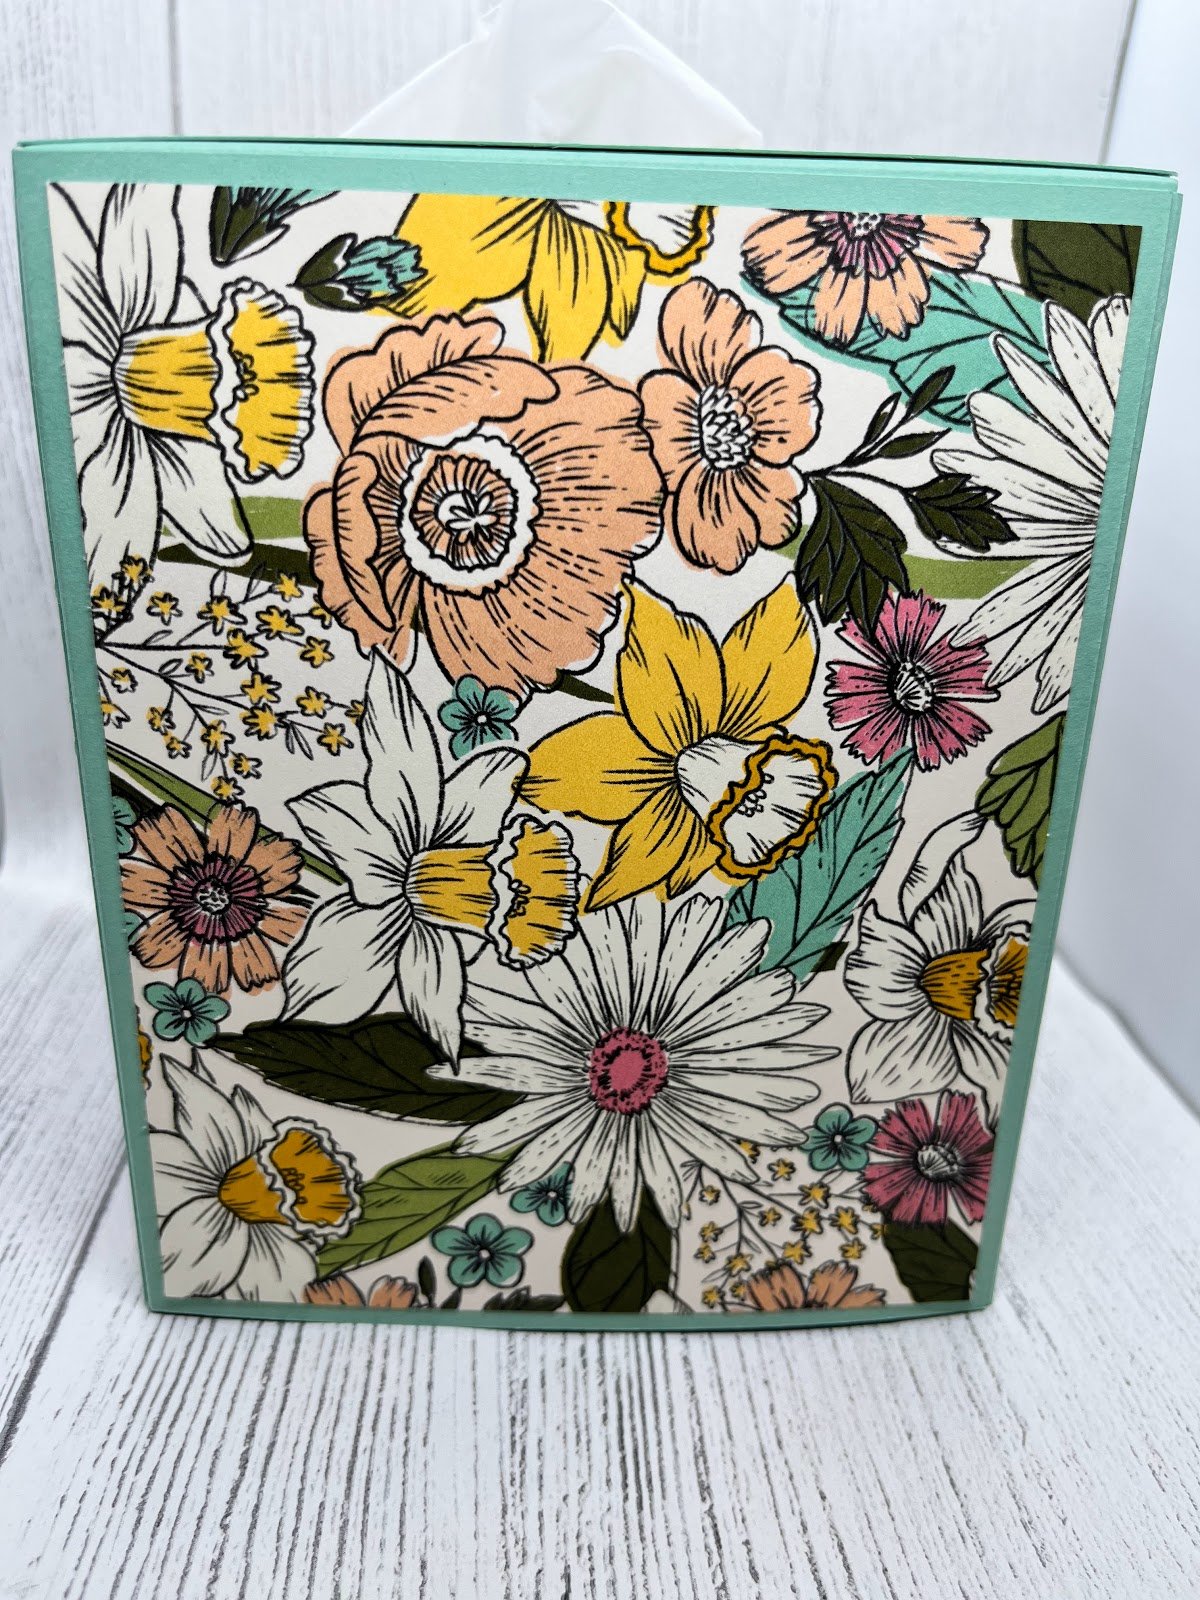
Here’s what I used for mine but you can change out colors & DSP to your liking. This cover will fit the Square Tissue boxes measuring 4 3/8′ wide x 4 3/8′ deep x 5 1/8′ tall.(Kleenex or No Name Brand)
Three 8 1/2′ x 11′ sheets of Mint Macaron Cardstock.
Piece A) Cut 4 measuring: 5” x 5 ½” each.
Piece B) Cut 1 measuring: 5 ½” x 5 ½”.
Piece C) Cut 1 about 4 ½” x 4 ½” .
Scoring: Piece A) With the 5” edge horizontal in your
Simply Scored or Paper Trimmer , make a score line at 4
½”
Repeat for all 4 pieces of this size.
Piece B) Score at ½” on all 4 sides.
Piece C) No scoring.
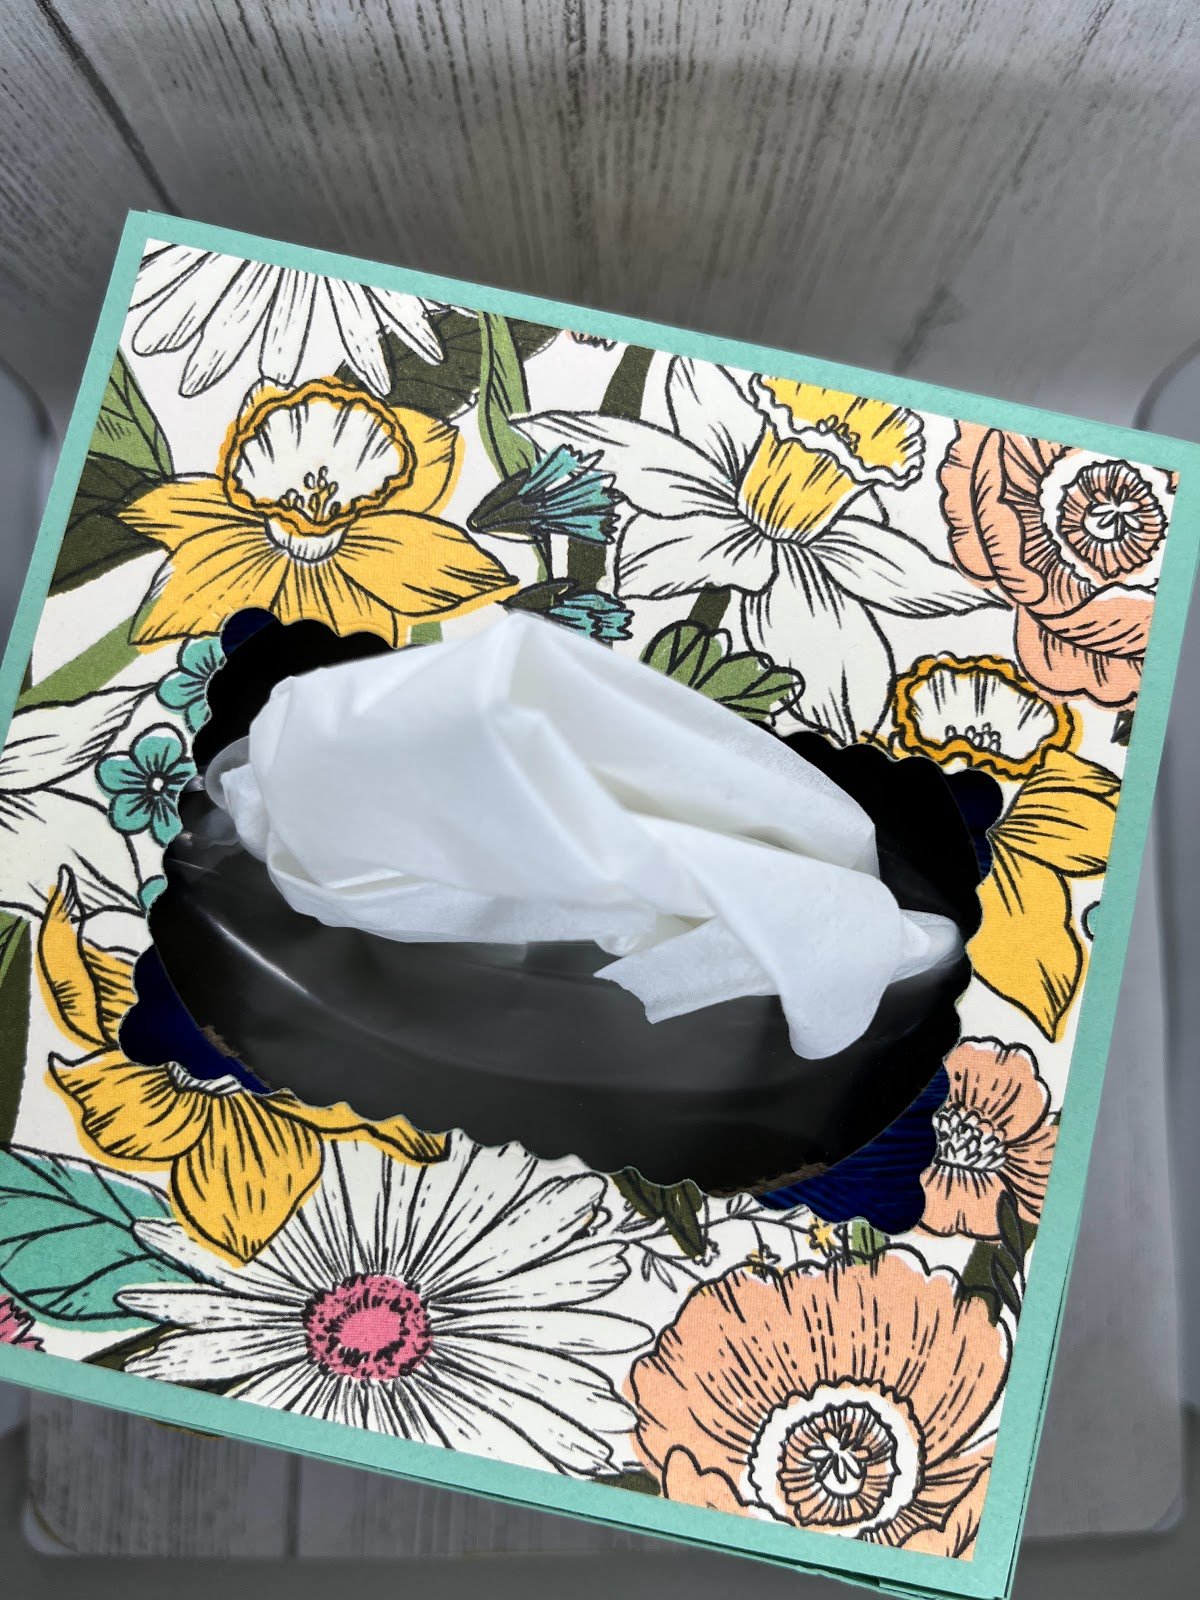
Die cut for the Lid frame. I used a smaller scallop from Scallop Contours Dies. An oval or circle , or any fun design you want will work.
Designer Series Paper Piece A) Cut 4 measuring: 4 ¼” x 5 ¼”.
Piece B) Cut 1 measuring: 4 ¼” x 4 ¼”.
Once you have everything picked out and cut to size we can start to build it. I have made a video to make it much easier to see exactly how to , click on the link https://youtu.be/aGKo1JjlPDk and you will be taken to a YouTube Video and I will walk you thru step by step. I hope you love this project as much as I do, and If you make one please Share and Tag me in a photo I would love to see 🙂
Paper Hugs,
Shanna
Leave a Reply