
Hello,
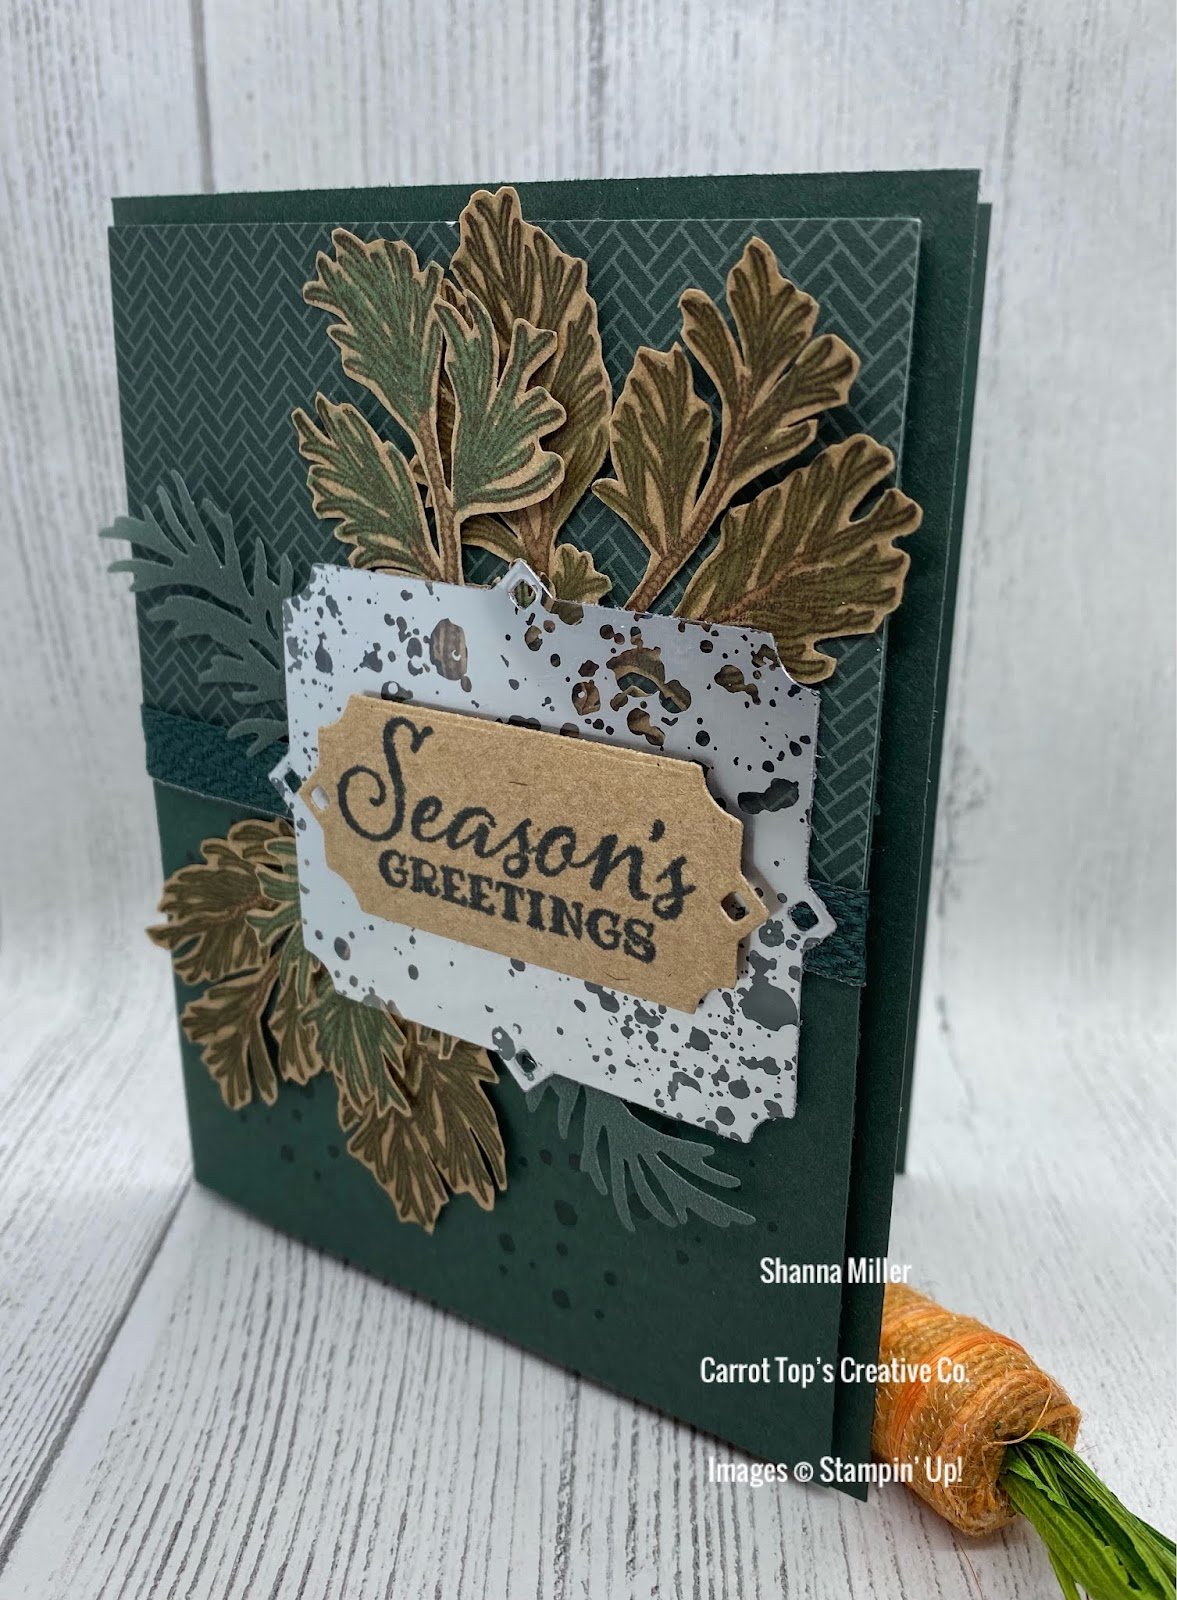
Welcome to Week 11, I love stamp sets that have realistic almost life like detail , and this Peaceful Boughs Stamp Set and Beautiful Boughs Dies delivers in the pine boughs. Adding a current in color, Evening Evergreen adds the natural touch to this card. Let me share how to recreate this card with you.
Peaceful Boughs Stamp Set & Beautiful Boughs Dies. (RETIRED)
Evening Evergreen Cardstock Base 5 1/2′ x 8 1/2′, scored at 4 1/4′.
Evening Evergreen Cardstock 5 1/4′ x 4′.
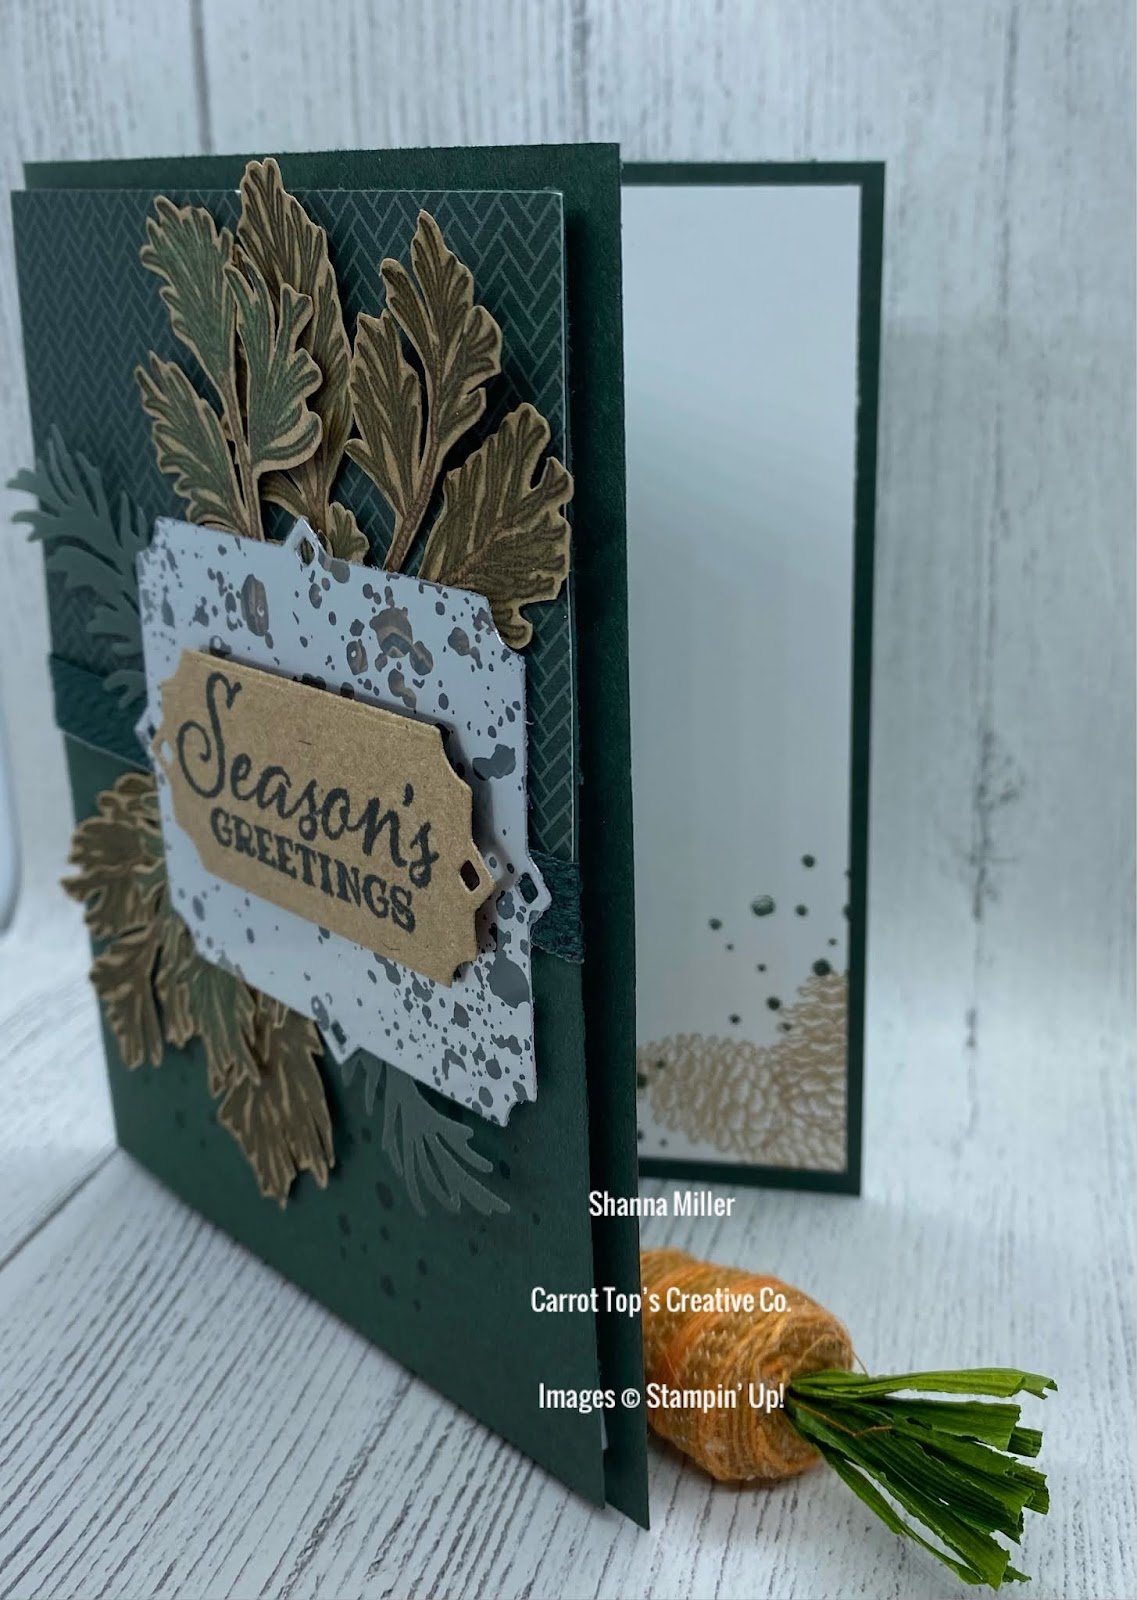
Basic White Cardstock 5 1/4′ x 4′ for inside.
Tidings of Christmas Designer Series Paper 2 1/2′ x 4′.
Kraft 6×6 Paper 5 1/4′ x 4′ for stamping and diecuts.
Hydrangea Hill Mercury Glass Designer Acetate 3 1/4′ x 2 1/2′ for diecut.
In Color Shimmer Vellum scrap for diecuts.
Evening Evergreen Chevron Weave Ribbon 5′.
Ink: Evening Evergreen, Crumb Cake, Black Memento.
Stampin’ Blends: Light Mossy Meadow, Light Shaded Spruce, Bronze.
Stamp the bottom half of the Evening Evergreen Cardstock 5 1/4′ x 4′ layer with the Evening Evergreen Ink and the splotch from the stamp set, also stamp your inside piece corners. Layer your Tidings of Christmas DSP on the top half of the same piece with your Stampin’ Seal. On the seam, wrap your Evening Evergreen Chevron Weave Ribbon and secure on the backside. With Foam Strips placed around the backside adhere that layer to your cardstock base. With Black Memento Ink and the pine boughs stamp two of each of the large and smallest onto your Kraft 6×6. Color with your Stampin’ Blends. Fussy cut out the boughs. Using the Mercury Glass Acetate piece diecut the largest sentiment cutout with the Cut & Emboss Machine. Run thru the smaller cutout with a scrap of Kraft 6×6 Paper and smallest pine bough twice with the scrap of Shimmer Vellum.
Attaching with Glue Dots, place your boughs off the ribbon line to the top and bottom of your card front. Add dimensionals to the back of your Mercury Glass diecut, peel off backings and place over you boughs, lining up the points of the diecut shape along your ribbon center. Stamp a sentiment in Black Memento Ink on the smaller cutout, attach that to the middle of the Mercury Glass piece. On the inside layer stamp in Crumb Cake Ink the smaller pinecone in the cornersof where you did you splotches. Decorate your envelope as well. Your Card is done and ready to send.
Thanks for visiting today, See you next week for more 🙂
Paper Hugs,
Shanna
Leave a Reply